
Discover why the Predator (Yautja) has never been portrayed as a true hero in the movie franchise. We explore past alliances and what may come in the upcoming film, Predator: Badlands.
Entertainment
70 posts
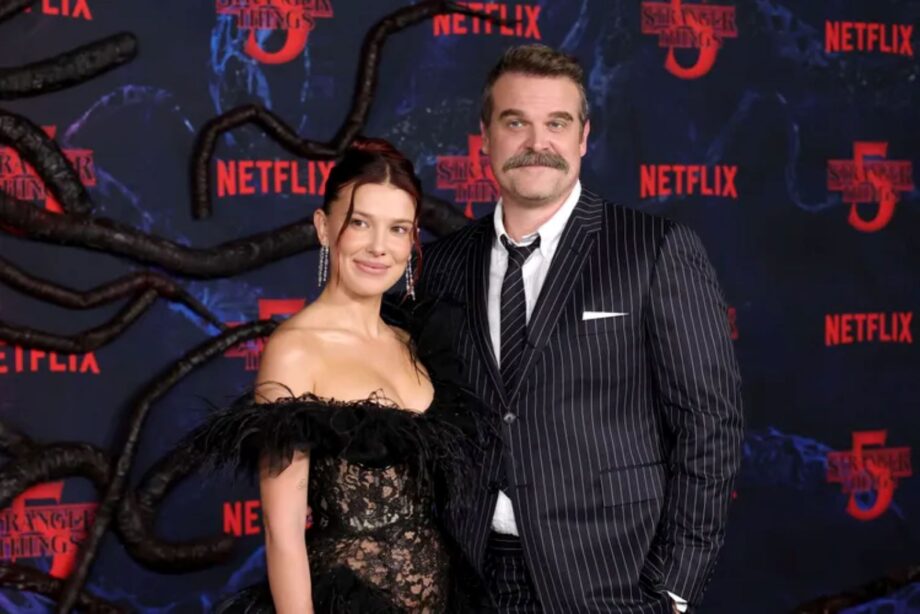
Millie Bobby Brown and David Harbour present a united front at the Stranger Things 5 premiere, countering recent bullying reports.

Confused about Taylor Swift’s ‘The Life of a Showgirl’ and the Grammys? Learn why this rumored project was not snubbed and isn’t on the nomination list.
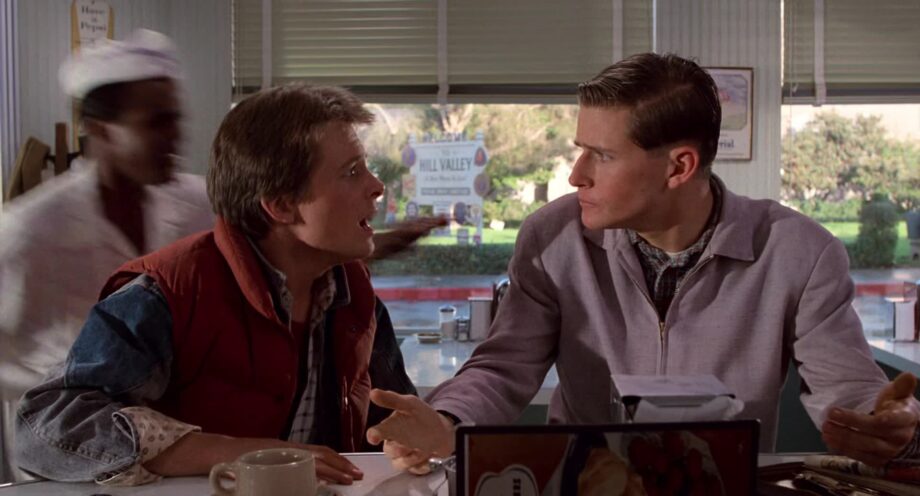
In his new memoir Future Boy, Michael J. Fox opens up about working with Crispin Glover on Back to the Future, revealing how Glover’s unpredictable methods both fascinated and frustrated the film crew.

‘Harry Potter’ author JK Rowling calls actress Emma Watson “ignorant” in a social media post, escalating their long-standing public disagreement over transgender rights.

Ariana Grande sparks online debate after re-sharing a viral post on Instagram asking Donald Trump supporters whether their lives have truly improved since 2016.
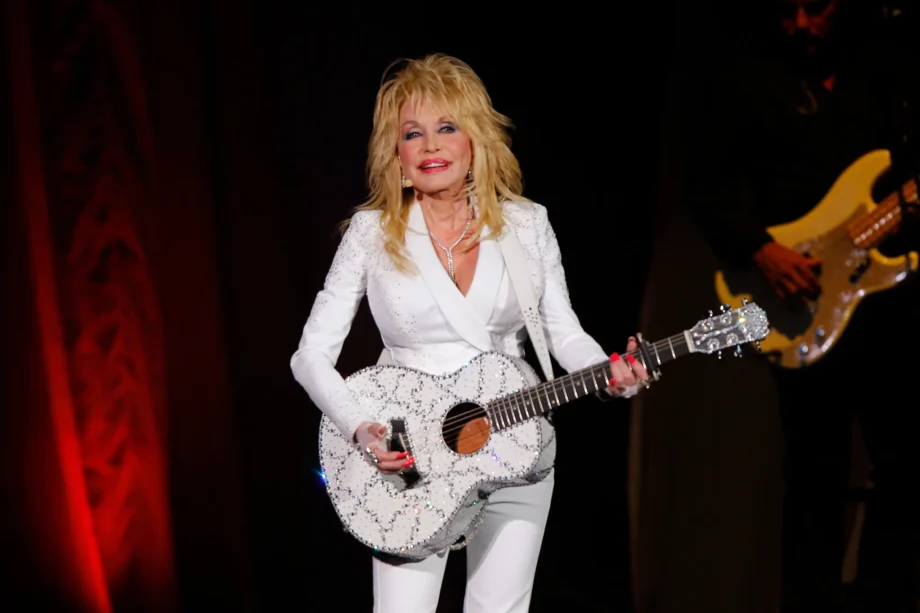
Country music icon Dolly Parton postpones her upcoming Las Vegas concert series, citing health issues. Learn about the impact on show dates and ticket options.

Singer Jourdan Blue from Louisiana receives the Golden Buzzer from judge Sofia Vergara on ‘America’s Got Talent’ after performing an original song.

The lineup for the ‘America’s Got Talent 20’ finals is complete. Discover the six acts, including a golden buzzer singer, who advanced after the latest results show.

Legendary and Capcom’s new Street Fighter film, directed by Kitao Sakurai, comes to theaters in October 2026 with a star-studded cast.

Kate Middleton, the Princess of Wales, has a new blonde hairstyle. Experts say the look represents a fresh start and a return to public life after her cancer treatment.

Saturday Night Live’s 51st season premieres October 4 on NBC. Find out about the new cast members and who is leaving the show.