
Kate Middleton, the Princess of Wales, has a new blonde hairstyle. Experts say the look represents a fresh start and a return to public life after her cancer treatment.
Don earned a B.M. in Music Business and a minor in Data Analytics, bringing 9 years in label promotions and music journalism. His expertise spans release strategy, touring economics, radio and streaming charts, and live production. He has served on juries for independent music awards and regularly guest-lectures on artist marketing. He plays bass on the weekends and keeps a meticulous vinyl catalog. Don runs our release calendar, leads festival desks, and edits reviews and chart breakdowns.
27 posts

Clean your computer for better performance! Learn how to remove digital junk (files, apps) & physical dust to speed up your PC step-by-step.

Use your Windows laptop as a second monitor for another computer! Learn two software methods (Windows built-in and free third-party) for extra screen space.

Choosing the best operating system for your PC in April 2025 requires careful consideration of your primary use cases, budget, technical skills, ecosystem preferences, security needs, and desired level of customization. By following these steps and weighing the pros and cons of Windows, macOS, and Linux, you can select the platform that will provide you with the best computing experience.
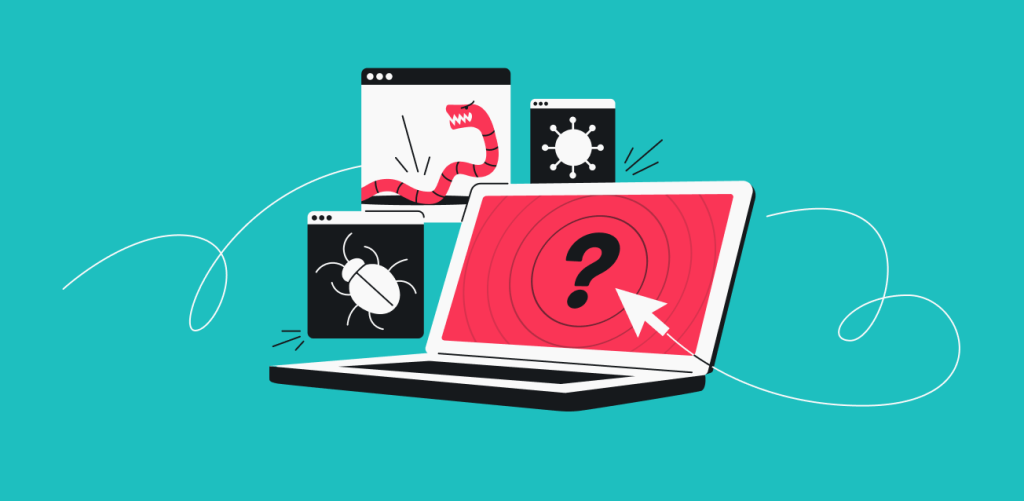
Removing a virus from Windows 11 without antivirus software in April 2025 requires a systematic approach using built-in tools and manual techniques. By following these steps carefully, you can attempt to clean your system. However, remember the limitations and risks involved, and consider professional help or installing antivirus software for ongoing protection.

Fixing a slow Windows 11 startup time in April 2025 involves a multi-pronged approach. By systematically working through these steps, you can often identify and resolve the underlying causes of the delay and enjoy a much faster and more efficient boot experience
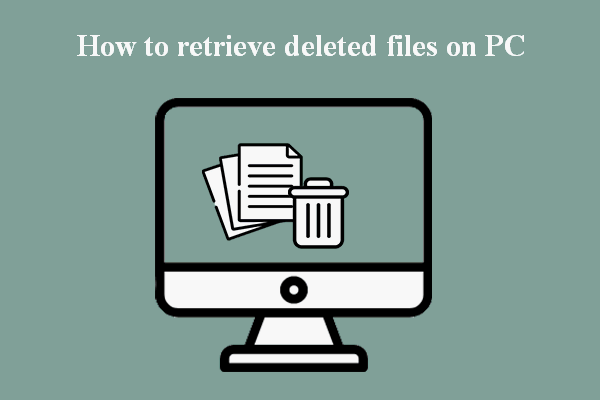
Accidentally deleting important files can be a truly heart-stopping moment. I’ve “seen” the distress it causes countless users…
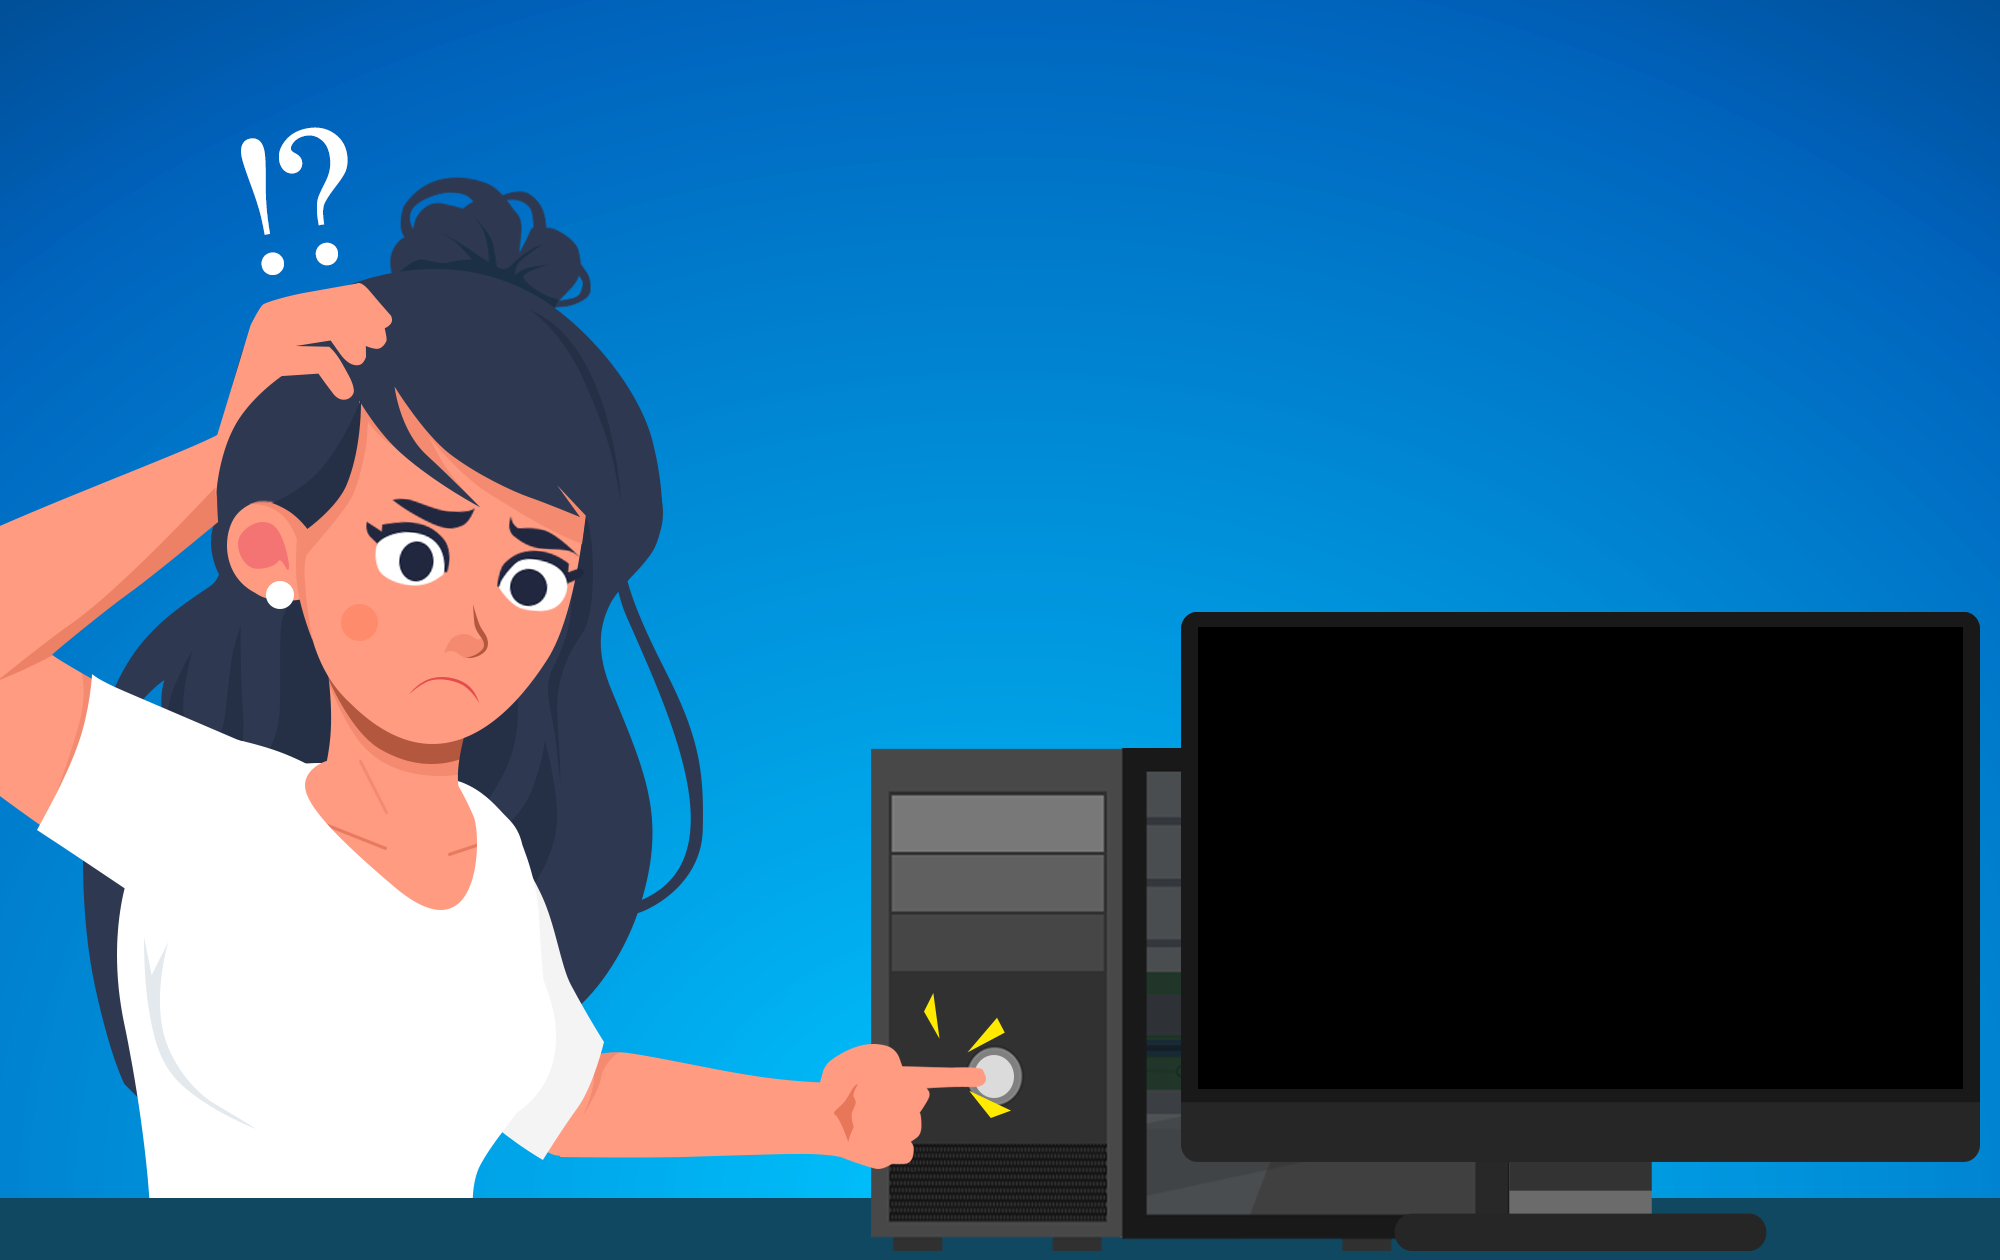
My computer won’t turn on in April 2025! This detailed guide provides step-by-step instructions to troubleshoot and fix a PC that refuses to power up.

On April 25 KST, Netflix made a groundbreaking announcement that they will be investing over 2.5 billion dollars…

Fans of pop star couple Shawn Mendes and Camila Cabello were abuzz with excitement as the duo was…

“Florida Man” is a new TV show that recently premiered on the streaming platform Quibi. The show follows…

Anime is known for its epic team battles that can leave viewers on the edge of their seats.…