
Discover why the Predator (Yautja) has never been portrayed as a true hero in the movie franchise. We explore past alliances and what may come in the upcoming film, Predator: Badlands.
Dylan holds a B.A. in Journalism with a concentration in entertainment reporting and has 12 years of newsroom experience across print and digital. He specializes in cover features, artist profiles, and awards-season strategy, and has moderated panels at film and music festivals. His work received a regional SPJ recognition for arts and culture coverage. Off duty he collects vintage tour tees and runs before sunrise. At Pop Army he sets editorial standards, greenlights investigations and exclusives, and leads tentpole event coverage.
41 posts
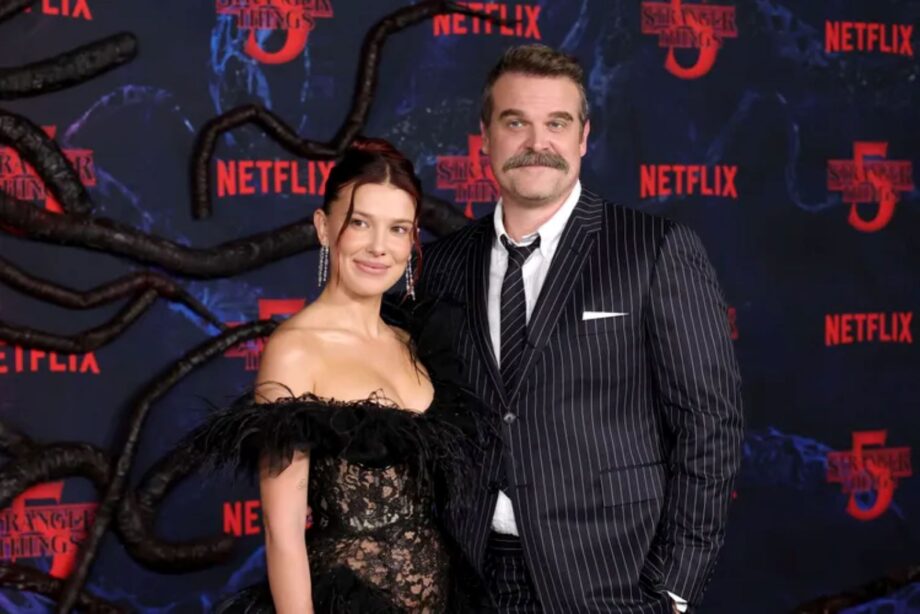
Millie Bobby Brown and David Harbour present a united front at the Stranger Things 5 premiere, countering recent bullying reports.

Confused about Taylor Swift’s ‘The Life of a Showgirl’ and the Grammys? Learn why this rumored project was not snubbed and isn’t on the nomination list.
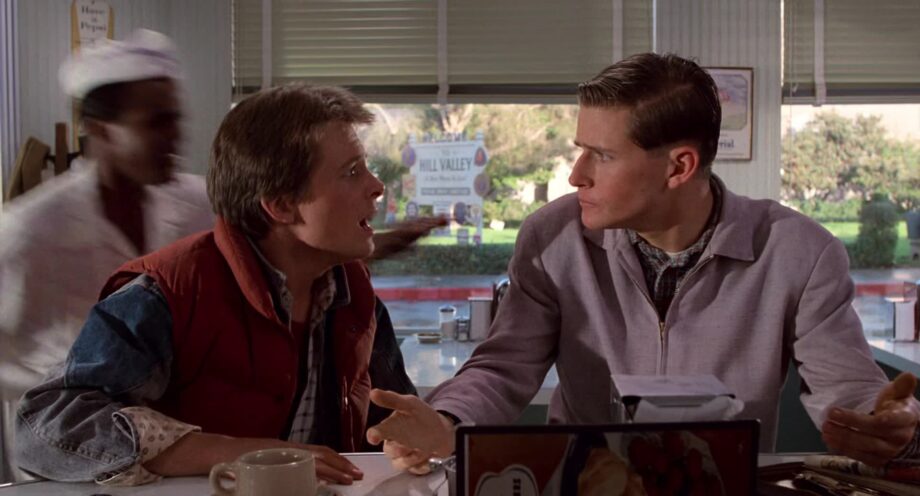
In his new memoir Future Boy, Michael J. Fox opens up about working with Crispin Glover on Back to the Future, revealing how Glover’s unpredictable methods both fascinated and frustrated the film crew.

Country music icon Dolly Parton postpones her upcoming Las Vegas concert series, citing health issues. Learn about the impact on show dates and ticket options.
See a complete list of the major Hollywood, Bollywood, and K-pop stars attending the top shows like Gucci, Fendi, and Prada at Milan Fashion Week.

The Rolling Stones release a Super Deluxe edition of their 1976 album “Black and Blue” on November 22, 2025, featuring a new Steven Wilson remix and rare outtakes.

The lineup for the ‘America’s Got Talent 20’ finals is complete. Discover the six acts, including a golden buzzer singer, who advanced after the latest results show.

Saturday Night Live’s 51st season premieres October 4 on NBC. Find out about the new cast members and who is leaving the show.
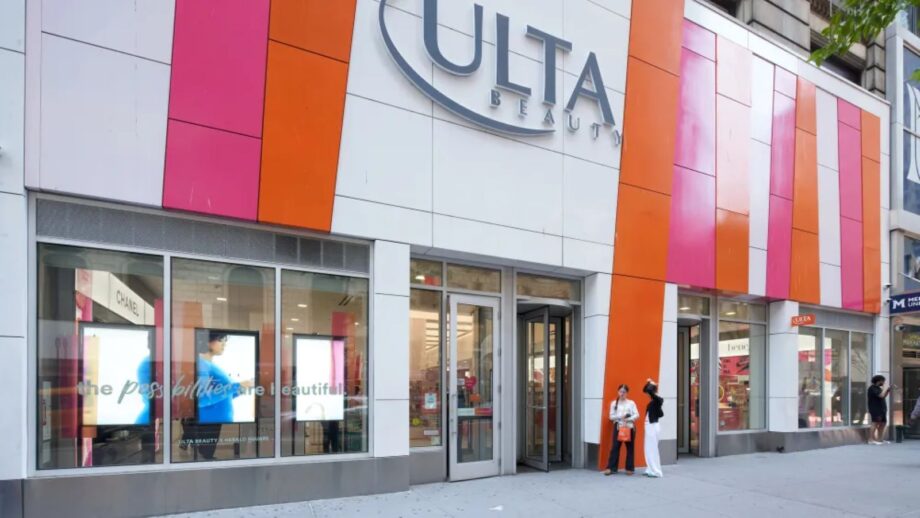
Ulta Beauty beats Q2 expectations and raises its full-year forecast. The strong results follow the acquisition of Space NK and plans for international expansion.

Anne Hathaway falls on the Devil Wears Prada 2 set. She references a similar fall from The Princess Diaries, delighting fans with her humor.

Lionsgate and Fathom Events partner to bring all five ‘Twilight’ Saga films back to theaters for the 20th anniversary of the first book’s release.