


Anne Hathaway falls on the Devil Wears Prada 2 set. She references a similar fall from The Princess Diaries, delighting fans with her humor.

Lionsgate and Fathom Events partner to bring all five ‘Twilight’ Saga films back to theaters for the 20th anniversary of the first book’s release.

Unlock powerful hidden Windows tools with God Mode! Learn how to create this master control folder for easy access to over 200 settings.

Free up space! Learn how to move installed apps from the Microsoft Store or traditional Win32 programs to another drive in Windows 10/11 without reinstalling.

Troubleshoot Windows Update stuck at 100% download or installation by restarting, running troubleshooters, and resetting update components.

Learn how to check system specs in Windows 10 using multiple built-in tools like Settings, Task Manager, System Information, and DirectX Diagnostic Tool.

Is your Windows 10 laptop slow? Learn effective tips to boost its performance, from managing startup programs to upgrading hardware, and reclaim its speed.

Fix no audio during iPhone calls! Troubleshoot speaker, microphone, software glitches, and hardware issues to restore clear call sound.

Customize your Windows Taskbar and desktop by adding or removing system icons like Network, Volume, Clock, and Recycle Bin for a cleaner, more personalized experience.
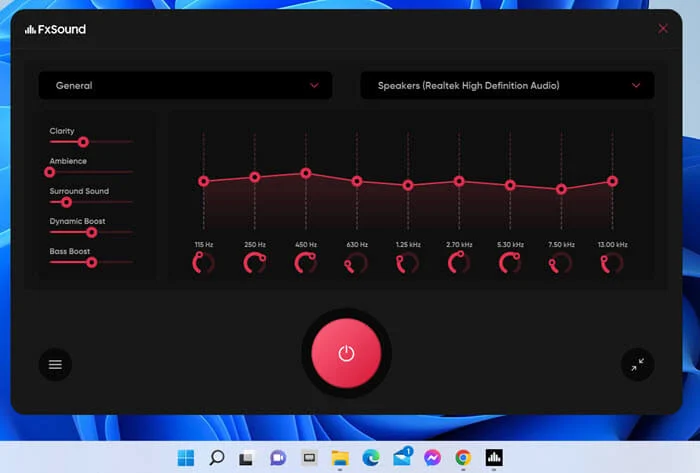
Learn how to enable a sound equalizer in Windows 10/11. This guide covers using built-in enhancements, Realtek Audio Manager, and powerful third-party EQ software for better audio.
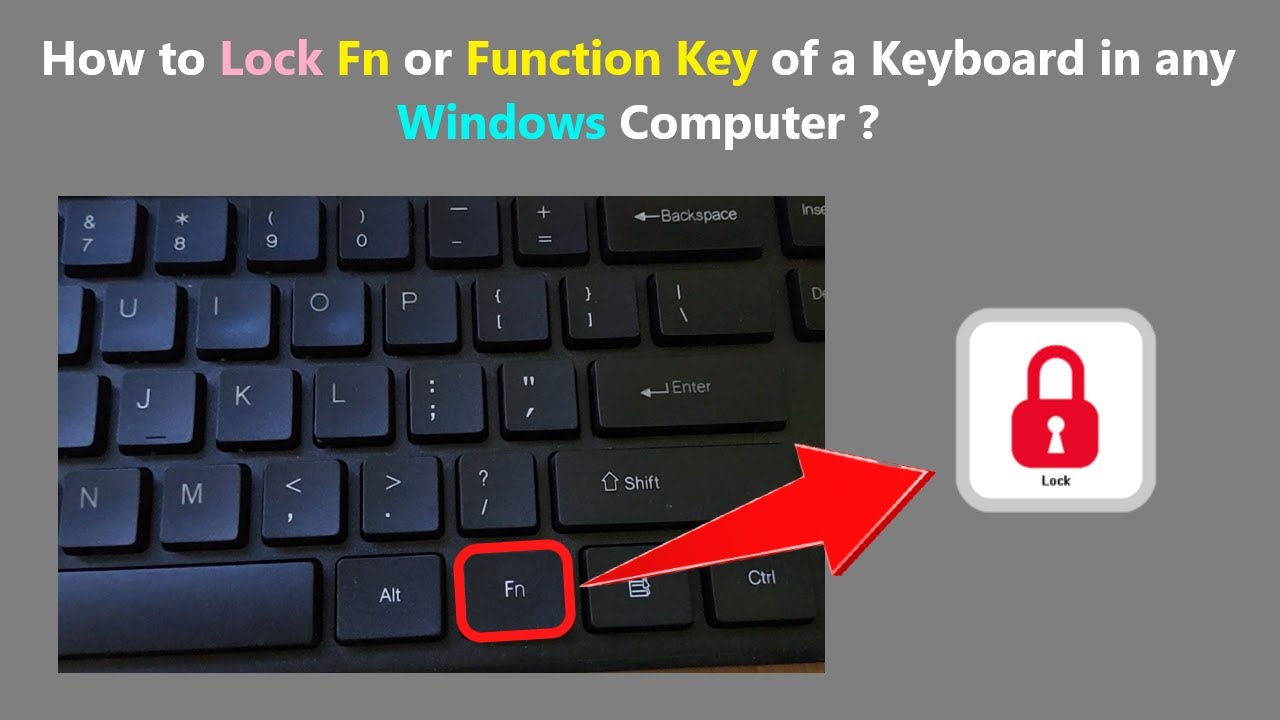
Learn how to use Fn Lock on your laptop keyboard to switch between standard F-keys and special hotkeys. This guide covers common methods and troubleshooting tips

Free up valuable disk space in Windows 11 by learning how to safely remove temporary files using built-in tools like Storage Sense and Disk Cleanup.